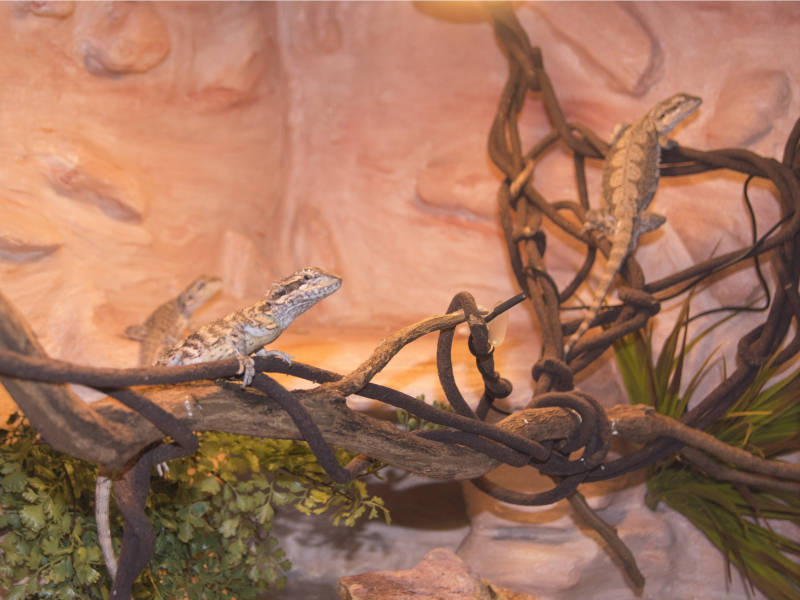
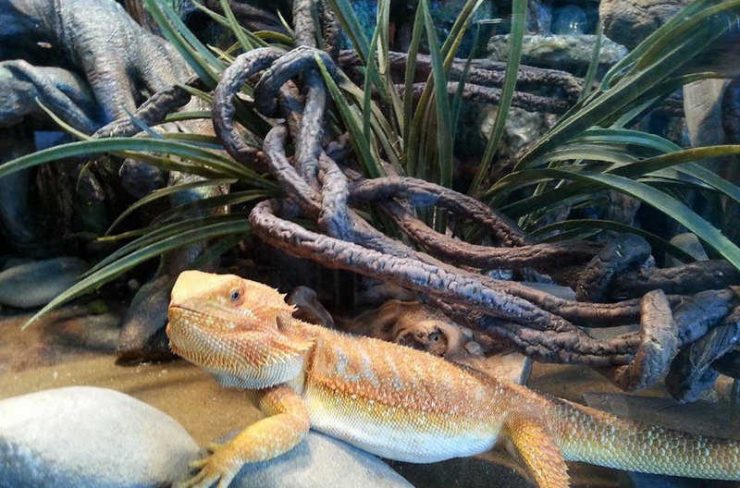
Making fake artificial and realistic rock wall backgrounds for your reptiles enclosure can be a lot of fun. It provide enrichment for your reptile (especially bearded dragons on this site 🙂 ) and for me, I find the aesthetic appeal irresistible.
The great news is that there is plenty of room to make mistakes and easily fix it, creating exactly what you want it to be. From fixing errors or breaks to revamping old backgrounds, it can be as simple as applying new colors, texture or shape.
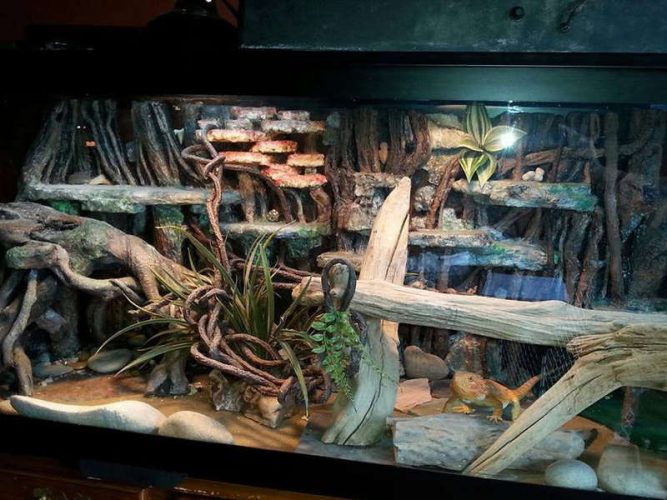
The structural requirements of a rock wall are very low, it is totally depend on the reptile the fake rock wall will accommodate. Your artificial realistic rock wall background can fit any standard or odd size shape you want which makes them perfect for building your own bearded dragon house << that’s the link to the post.
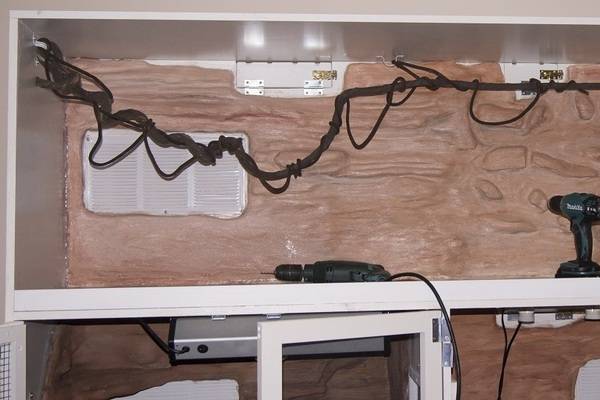
To make a rock wall you will essentially set up a structure that will be light, yet strong enough to hold your reptile (such as ledges that need extra support). This can be achieved easily using wood, screws, metal brackets, wire mesh and other bits and pieces. Any fittings will become embedded in foam which will ultimately be carved to create the shape you want.
Once the structure has achieved the desired shape you will then apply concrete / grout mixes until you reach the achieve your desired effect. Finishing the background off with some level of water proofing will aid in hygiene and cleaning.
Read more…
Choosing your Foam
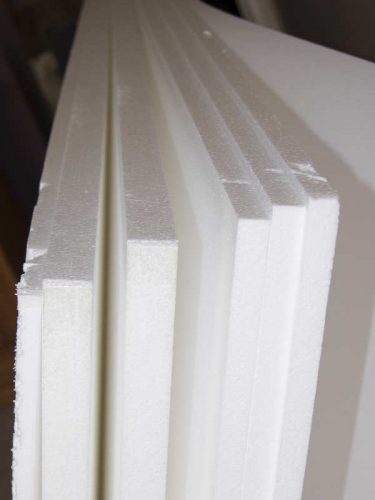
For the rock wall backgrounds below I use foam, either sheets of polystyrene or spray foam. I can’t decide which I prefer. Both have pros and cons. You can also use a mix of the two which is mighty useful.
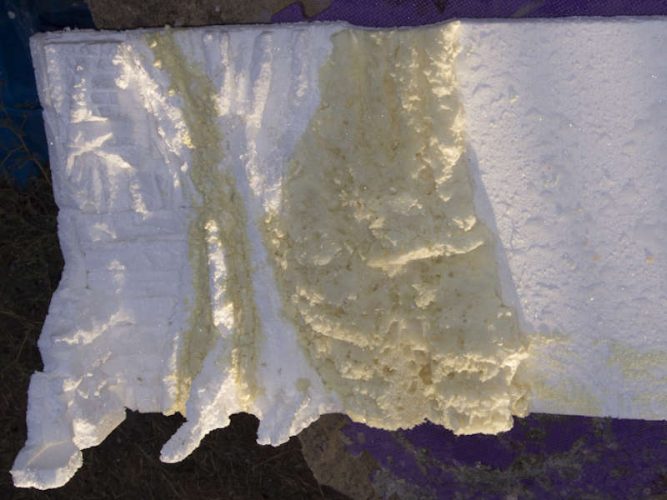
The sheets are easy to layer, although that can result in a weaker structure if not mindful of support. I find the sheets easier to create ledges and holes as you are creating the shape with cut pieces and will finish off the shape with carving. Polystyrene can be recycled from packaging although it won’t be neat sheets, still useful and you just saved the world from more rubbish. The little balls the polystyrene sheets are made up of seem to get everywhere when carving so it is good to be mindful of how easy that will be to clean up, don’t carve in the wind.
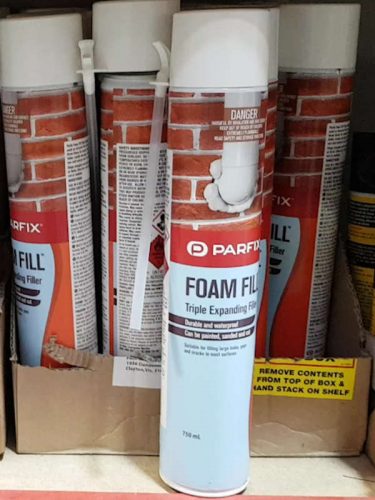
Spray foam sticks to everything which makes it awesome when you want it to attach to your reptiles house wall which it does very well making a strong connection. However, it can be super difficult to remove if it dries in the wrong spot. The foam cannot be applied in thick layers in one go as it risks not drying properly in the middle which is dangerous. Carving is easy.
Both are fabulous for insulation.
How to Build Fake Rock Background Walls
Making the Foundation
What you will need to make a foam wall
- Polystyrene or Styrofoam
Different thicknesses will provide more flexibility in design.
AND / OR
- Spray foam
PLUS YOU WILL ALSO NEED
- Supports (i.e. metal brackets, heavy duty wooden skewers or wire mesh)
Metal brackets for support if they can be fixed in place or for light reptiles large wooden skewers. Wire mesh may be sufficient to support ledges depending on the depth and weight to go on them.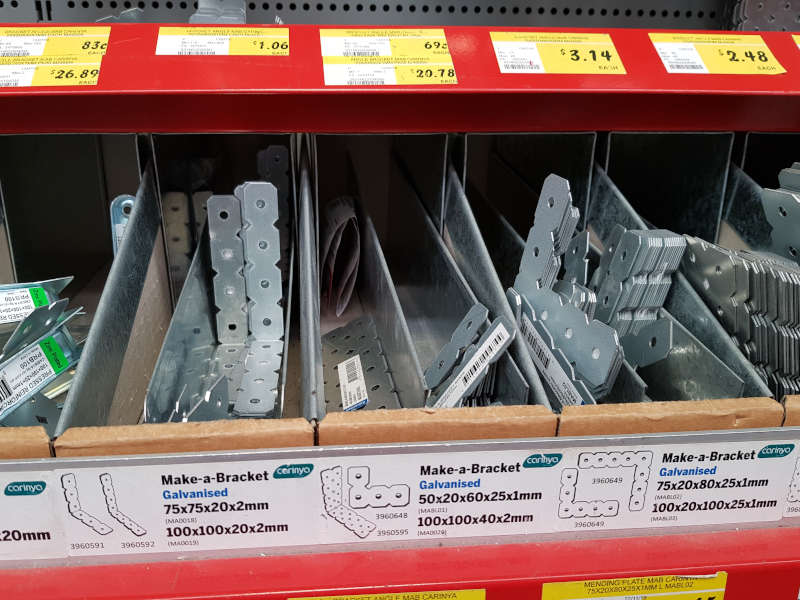
- Knife, hot wire cutting tool or any other tools you may like to use to shape the foam.
Hot wire cutting tools will cut down the mess and provide greater accuracy in detail, however it is not worth buying one if you are doing a one off rock wall. A knife is effective and any defects can be corrected with grout. Note that if you do choose to use a hot wire cutting tool, the wires break easily. You need to be patient and let the tool do the work without extra help from you pulling.
Creating the shape
If you have a tank or aquarium style of enclosure, then the most logical choice is to create a removable background. This gives you flexibility to change things around easily later if you wish to. However, it can be fixed in place if desired.
Free standing rocks walls are best created from foam sheets. Spray foam can be used as a filler and a glue. For a free standing rock wall you will need to:
- Cut the foam around 1/2 inch smaller on all sides than the area it must be fitted to. This will allow for the grout layers which will be on the finished product. Also make sure you have allowed for any lip on your vivarium if there is one. Bit of a bummer when you go to put your background wall in and its too big!
- Give the structure its own support to stand on. This can be done by adding sections of foam to the side of the walls to extend it far enough to stand on its own.
For a built in background:
- Cut the polystyrene sheet to fit the wall snugly allowing for any cut-outs. Attach the background to the enclosure by gluing with a strong glue.
- Alternatively if you are using spray foam, then simply spray all the area you want covered in the rough shape you desire.
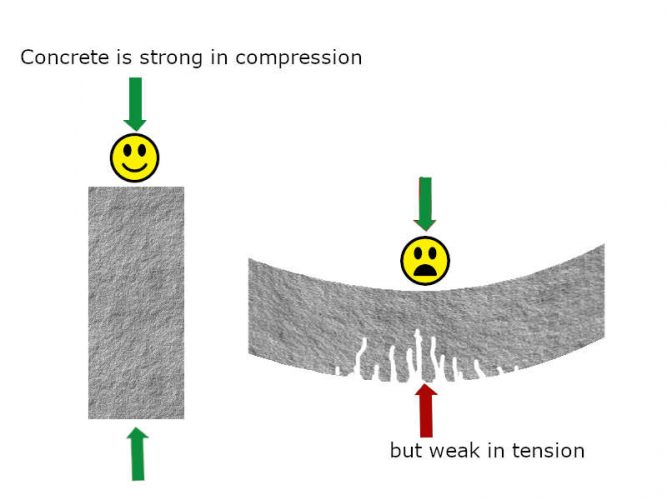
When using foam sheets, layer foam on the background in the shape that you want to achieve. Add any support needed such as angle brackets or wire mesh to support ledges. Concrete is strong in compression but weak in tension.
Glue layers on top of layers until you achieve the desired thickness for carving. Carve the foam to the shape you would like. Fine detail carved into the foam will be lost when grouting so keep the carving and shaping to a broad layout. You can create the finer detail with the grout.
Rendering the Background Wall
Cement or grout are used for rendering, creating the rock surface. Grout will give a finer finish than cement but the grainier finish of cement is attractive in the right design.
Render Mix Recipes
If using grout then it is simply grout and water. Use only enough water to use the mix.
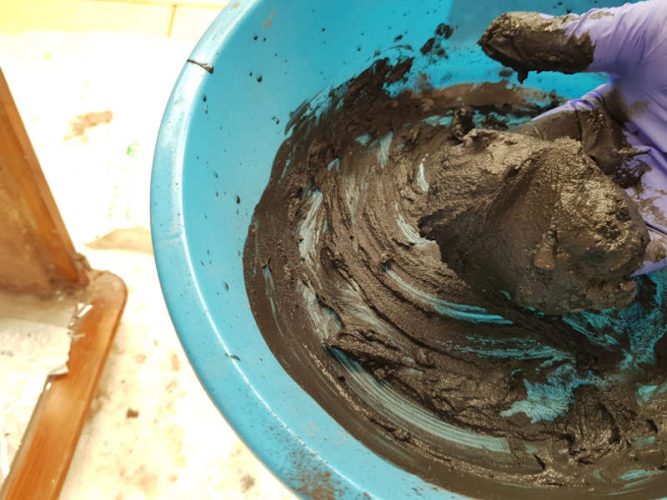
When using cement, there is flexibility on what proportions or ingredients you might use. To make concrete you need water, cement and an aggregate. The cement coats the aggregate to help bind it altogether and add to the strength. The recipe I use has Perlite to help reduce the finished weight of the background.
- 1 part cement
- 1 part crushed Perlite
- 1 part sand
- Sufficient water to create a wet dough
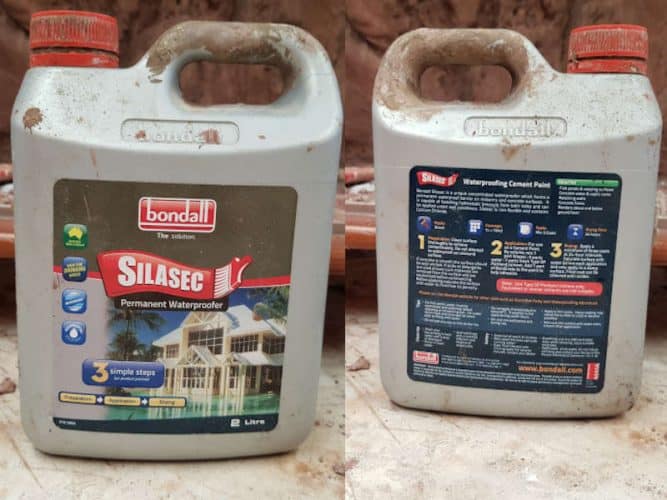
- Waterproofer for the final mix

Always default to using the least water possible in mixes. The more water, the weaker the mix will cure and the more it will crack as the concrete shrinks when the water evaporates. It is very tempting to add more water because it makes the mix so much more workable.
Make small batches of grout or cement if you are unfamiliar working with it. Depending on the size of what you are rendering this might mean no more than an inch of mix in the bottom of a bucket.
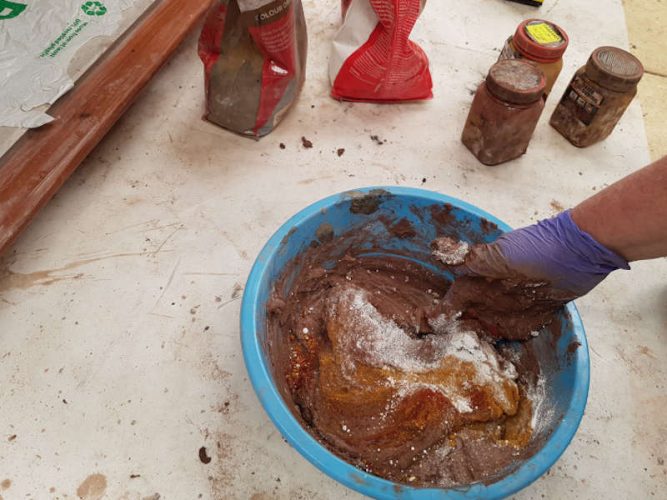
Coloring Render
There are different ways to color render, these include:
- Acids (applied on top of cement)
- Dyes (added to mix or applied on top of render)
- Pre colored grouts (grout bought in packets already colored)
- Acrylic paints ( added to mix or applied on top of render)
Acids provide an awesome finish, however I find them difficult to get. The dyes, pre-colored grouts and occasional acrylic paint are easy to get and create great finishes. Personally I prefer to mix the colors into the cement rather than paint on the color later, but either methods will do or a combination of the two. Mixing different colors can provide some interesting backgrounds walls and if it ever chips then the color is consistent underneath as well so the chip isn’t so obvious.
Don’t mix the color into the render well, this will provide a non uniform color which is more natural.
Gauge the amount of grout that will be required and that can be used within recommended times for the grouts (check the grout bag for work-ability duration). If unsure, make a small batch. It can always be added onto later.
Mix the grout to a wet dough consistency, something that can be spread without dripping. Colors can be added at this stage however it will be a little less flexible in doing so. It is easier to apply colors to top layers of grout or applied to grout that is already in place.
Applying the grout
Apply the grout in a few layers, it is not done all in one layer. Apply the first layer, once dry apply a second one. Add extra grout under any ledges or pieces extending out of the background by a few inches or more to provide additional support. Remember that cement (including grout) is strong in compression not in tension. So wherever you want a ledge, it should have some support (such as a metal bracket) to help with the strength.
As you apply the layers, work on any areas with fine detail. You can create ridges and lines with as little as a stick or a knife for tools to mold the grout into the required shape.

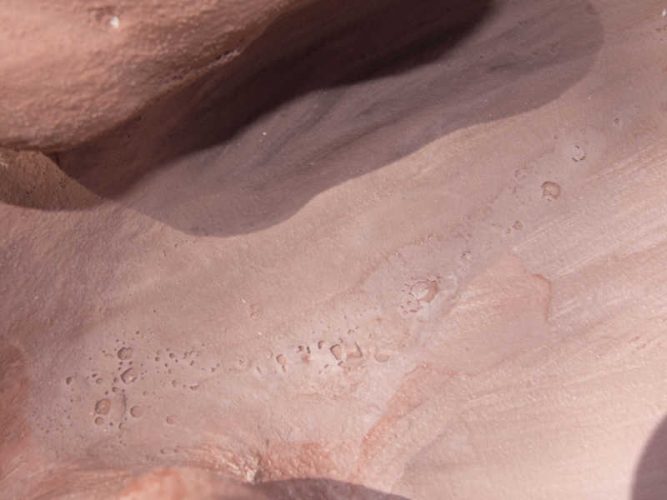
Monitor the grout through the drying process, if it starts to crack very lightly mist the cracked area and work it back together by hand or with any of the tools being used if the detail is fine. Chances are there was too much water in the mix so be miserly with any more water. Any areas with excess moisture may have more of a shiny smooth surface.
If the grout was not applied already colored then once the last layer is applied, start painting. Painting can be done with dyes and acrylics or mixes of the two.
If you do not like the finish that you have created, simply add another layer of grout and finish it again.
Using a misting bottle the grout can be finished quite smoothly. Excessive spray will lead to a bubbly scum that will need to be cleaned off later. This is best avoided. Any additional water threatens to weaken the finished grout product.
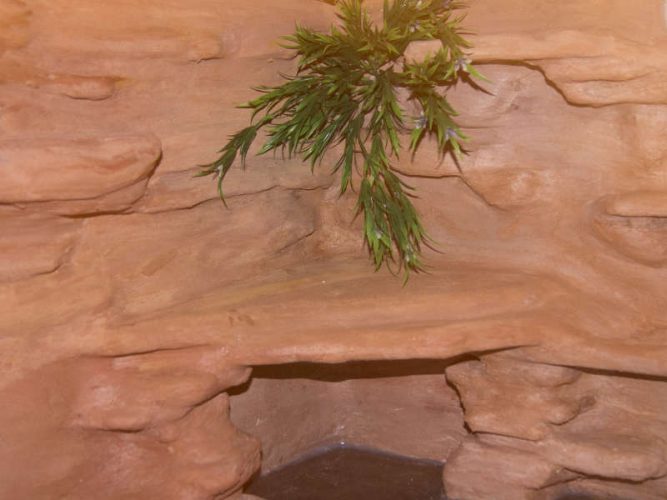
Finishing an artificial rock wall
For the good health of our reptiles, it is important to prevent pathogens and parasites growing on or behind the fake rock wall. Fully sealing edges using silicon will help to prevent water seepage and parasites getting behind the wall. Making the wall surface somewhat water resistant using a waterproofer, such as the Silasec waterproofer shown earlier in this post, will aid in cleaning.
What Kind of Silicone is Safe for bearded dragons?
I asked GE, Selleys and Sika if they could recommend any of their silicon products for sealing the edges and the faces of artificial rock walls in housing/cages made of wood, glass, tile and cement/grout walls. The only silicon sealer that any of the manufacturer responded was safe for reptile enclosures was Selleys with their Glass Silicon. Check with the manufacturer which silicon is best for your reptile housing situation.
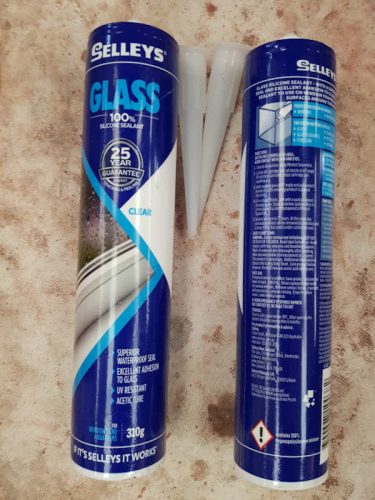
Is Selleys Glass Silicone safe for bearded dragons? The Selleys silicon can be used in glass and wooden bearded dragon housing / cages.
We would recommend using our Selleys Glass Silicone, please note that it will take a full 7 day to cure and you will not be able to have any animals in the enclosure until the 8th day just to make sure the silicone has fully cured.
Selley’s
Is GE Silicone II safe for bearded dragons?
Our silicone’s would be fine for those particular substrates, but considering the application and the environment it is being used in, we would not recommend our products. They haven’t been tested for that type of exposure, so we are unsure of any risks that may be present.
GE Sealants & Adhesives
Is Sika Silicone safe for bearded dragons?
Silicones typically have a biocide to stop bacteria from penetrating the silicone. I would not use them in this situation.
Sika
Sika have a product called Sikaflex 11 FC polyurethane Sealer, this is used in the food processing Industry and does not contain biocides.
Protect the little creatures from coming in contact with the Sikaflex 11FC in its un cured state , once cured all is OK.
Warning using Foam
Although we use foam cups, containers and so forth, foams are not good for our health and perhaps that of our animals. Whether covering it up in grout and cement ends the issue I do not know. This is worth assessing for yourself.
When using spray foam ensure you read the instructions on the can and put in place any safety procedures it recommends. Wear gloves, work in a well ventilated place and do not breath it in.


First timer here I inherited a bearded dragon with a very basic set up. I want to crest a better background on a buget and have decided to give it a shot with polystyrene and grout. How do I account for the light fittings and vents do I cover them or cut around? I’m a bit puzzled
Hi Jemma! Welcome to being a new pet bearded dragon parent! The light fittings should be on the top facing down and typically you wouldn’t be covering that area with foam or anything else. I have posted a picture for you on light and heating positioning here. Have a look at the post on lighting and heating so you can see where they are positioned. I think I understood what you were asking but if I missed the track let me know.